How to Flat Iron Curly Hair Like a Boss
I was not compensated for this post. However, I did receive a sample for my review. All opinions are my own and not influenced in any way.
In case you were wondering, I have been relaxer free for ten years now. Woohoo! I love my curls, and I save so much money not getting relaxers every month.
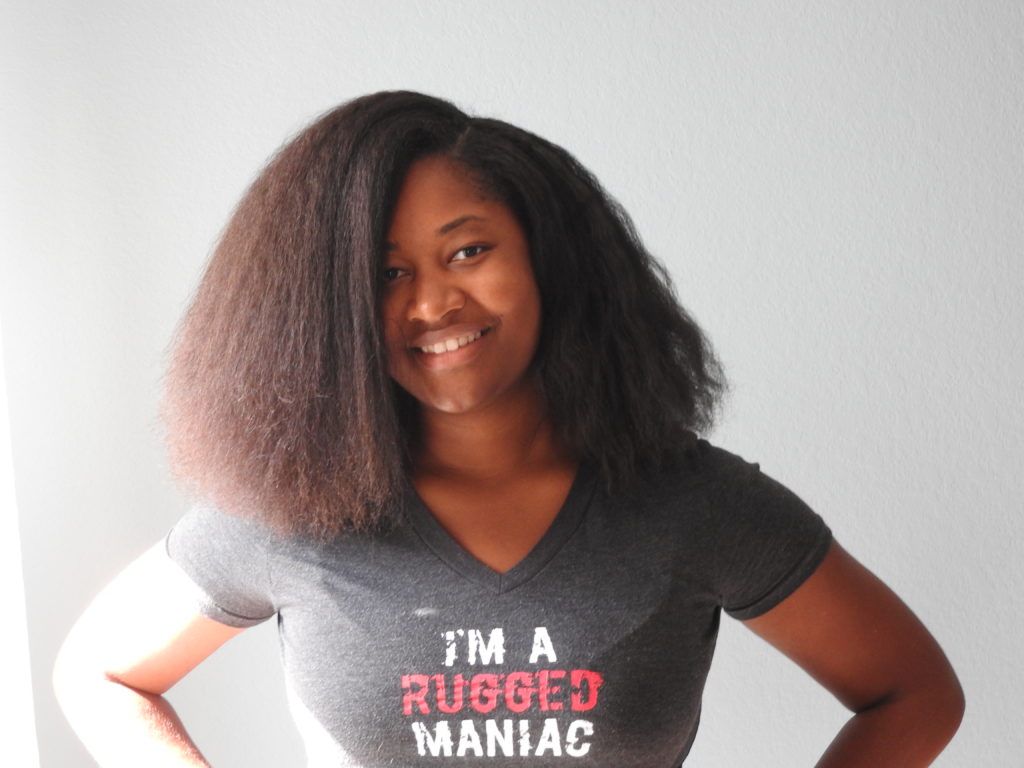
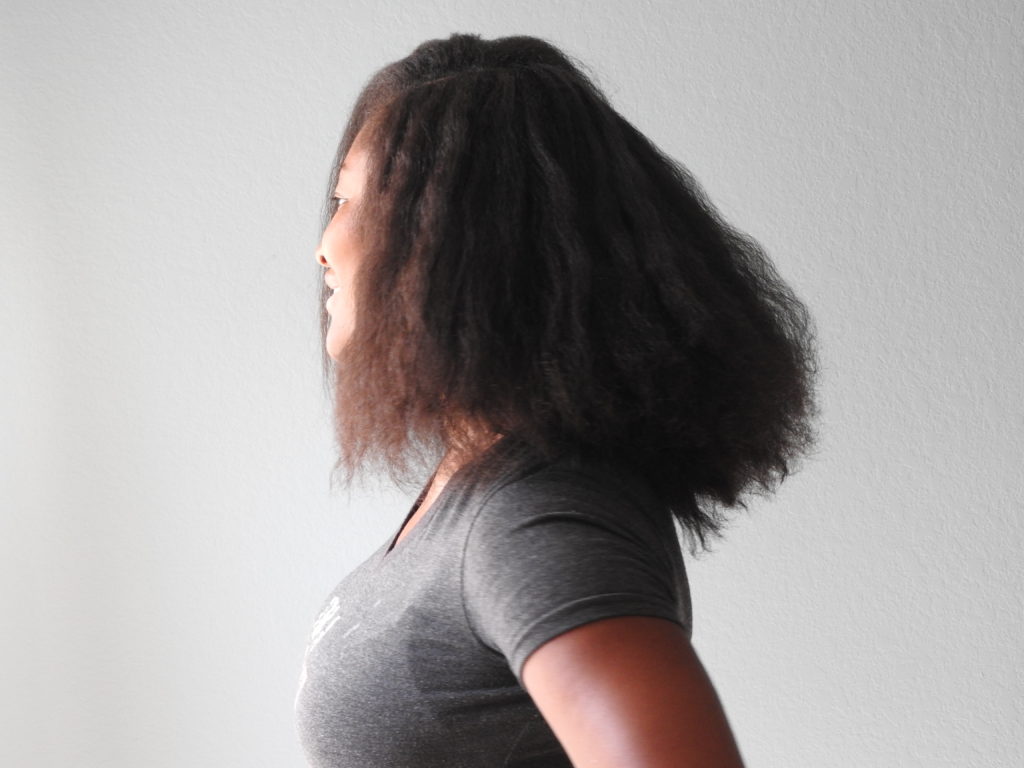
But I do like to mix things up from time to time. And I will occasionally flat iron my hair. Now I don’t know about you curly gals out there, but typically when it comes to flat ironing my curls, there is a 50/50 chance that it is going to turn out alright. And there is an even smaller chance that it will stay alright for the rest of the night. If you don’t know what I am talking about, let me show you Exhibits A and B.
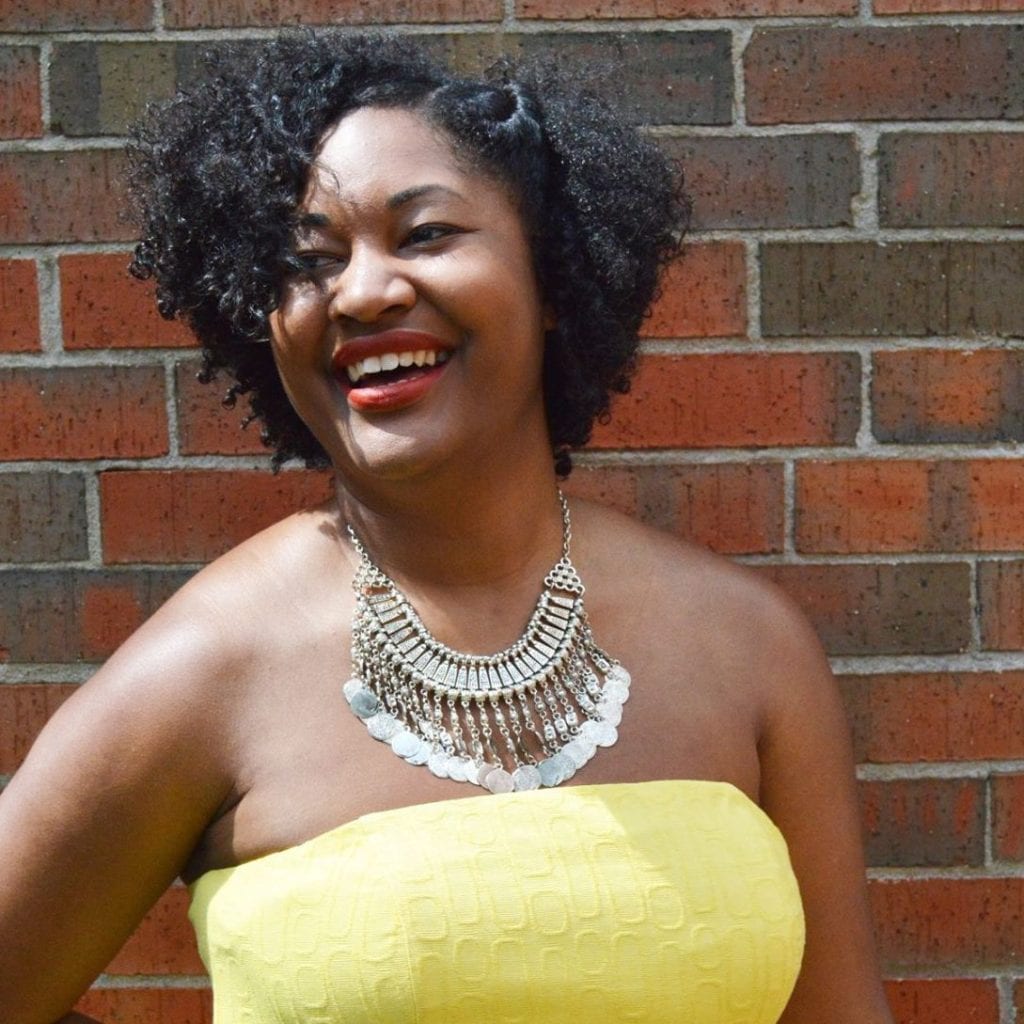
Exhibit A: After a night of dancing at a wedding, my straight hair do became a giant puff in no time.
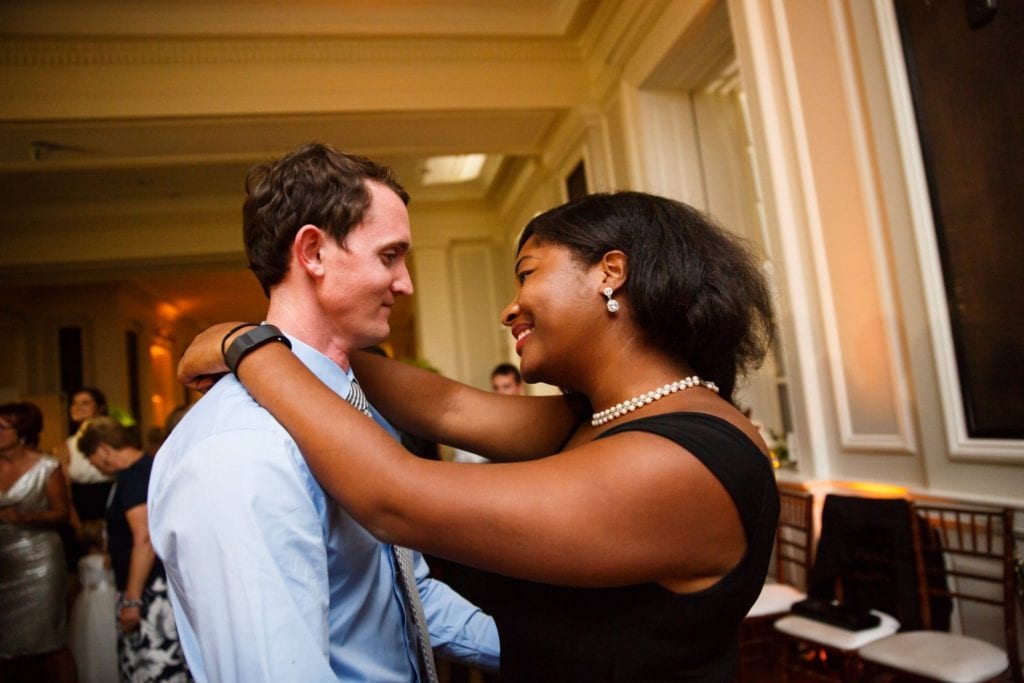
Exhibit B: During this rushed occasion on my way to see the Book of Mormon, my straight hair was a giant puff before I left the house. Due to my stress of being late for the show and rushing to the theater, I sweat out my hair before I even left the bathroom.

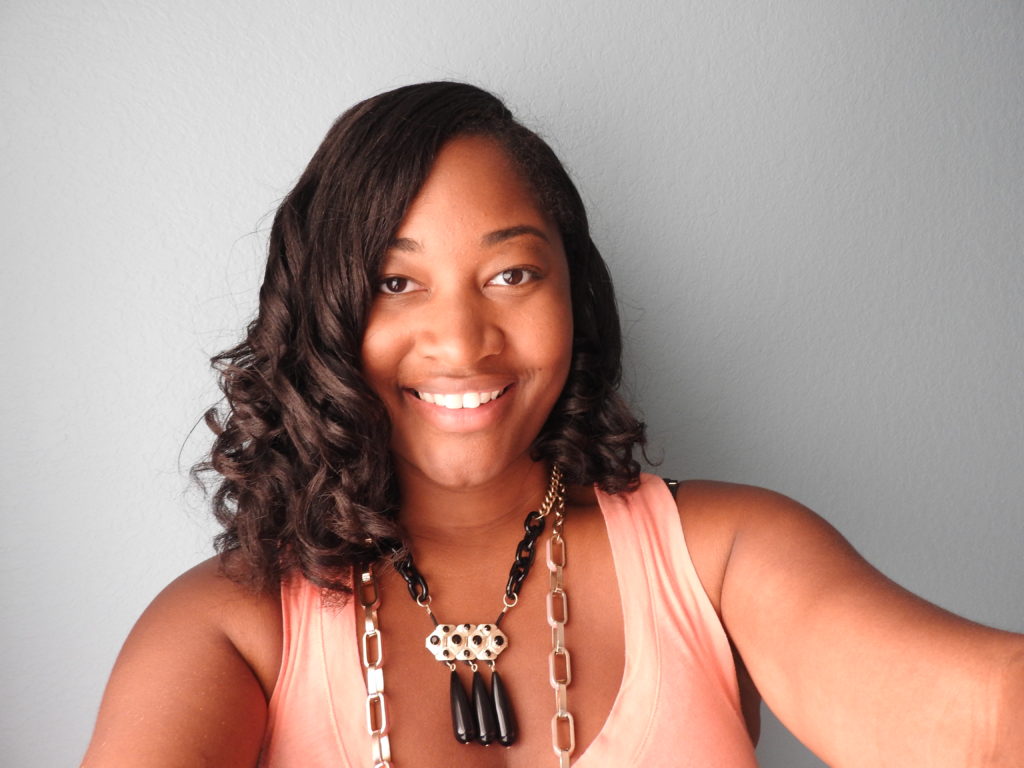
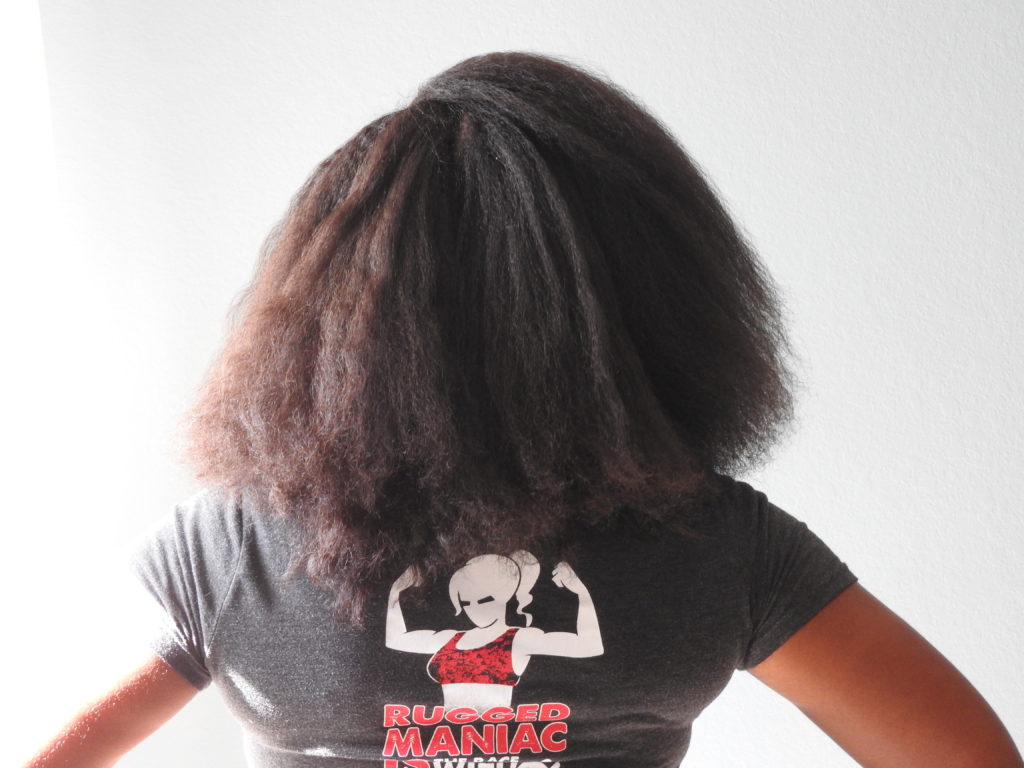
So with several occasions like this, I gave up on getting any decent style after straightening my hair. But I recently decided to give the occasional straight do, one last try before I gave it up forever. In this post I will reveal to you how I got my hair to go from:
This

to this
Tools You’ll Need:
- A Heat Protector Spray
- Hair Oil (I usually choose Argan or Olive Oil)
- An Irresistible Me Diamond Style Flat Iron
- A Comb
- A Blowdryer with comb or shampoo brush
- Hair ties or clips to separate your hair

A Note About the Tools
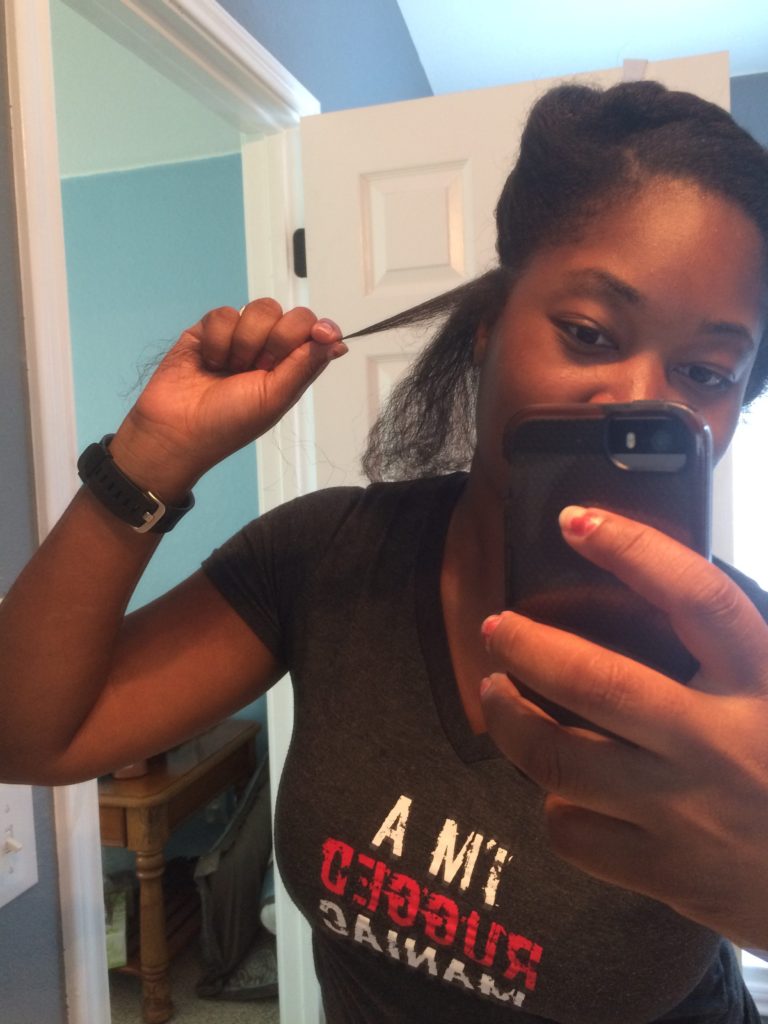
I am a low maintenance girl if you have not noticed from my short list of hair care products above. But the difference between when I flat-ironed my hair in the past (exhibits A &B) and what I did this last week (my before and after picture above), is the ceramic flat iron I used. I used the same hair products I used before and got hair that was straight, frizz-free, and stayed straight for two weeks! And just so you have a good idea of how awesome this flat iron is, I go to yoga three times a week, and run at least twice a week, and my hair still stayed straight. Did I mention that it rained the entire first week I straightened my hair (of course), and it still stayed straight.

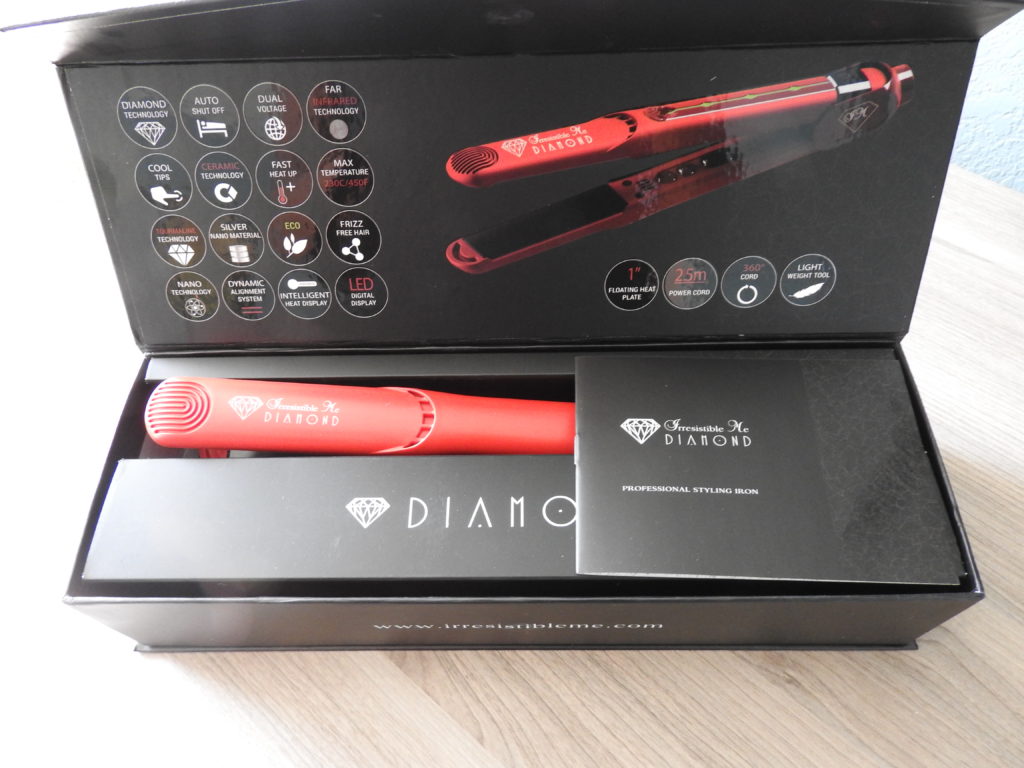
It did get a little puffy at the roots, but the rest was silky straight. The reason for that is the Diamond technology in the flat iron. The ceramic plates are coated with crushed diamond particles and are mixed with Tourmaline and the minerals in the plates coat your hair so that it locks in moisture to protect it from frizz and makes it shiny. So, first things first, get the flat iron!
Step 1: Blow Dry
Once you get your flat iron it’s time to get down to business. You want to blow-dry your hair, preferably immediately once you get out of the shower. I did not do this and blow-drying my hair while it was tangled, and dry was difficult, to say the least. Remember when blow drying it you should use a shampoo brush or have a comb attached to your blow dryer to get it straight.
Step 2: Divide into Sections
Once your hair is blow dried, next it’s time to divide it into sections to get it ready to flat iron. I typically separate it into four sections, two in the front and two and the back, but I seen people divide their hair into 5 or 6 parts. What matters is having a smaller section to work with before you start to flat iron.
Step 3: Bust Out the Flat Iron
Now comes the part you’ve been waiting on. The flat iron! So take one of your sections of hair our of the hair tie or clip and take a small part of that to flat iron. If I take a little row of hair, I usually divide that row into three small sections to be flat ironed. One secret to smooth straight hair is flat ironing it in small sections and taking your time to get the root and ends of the hair follicle.
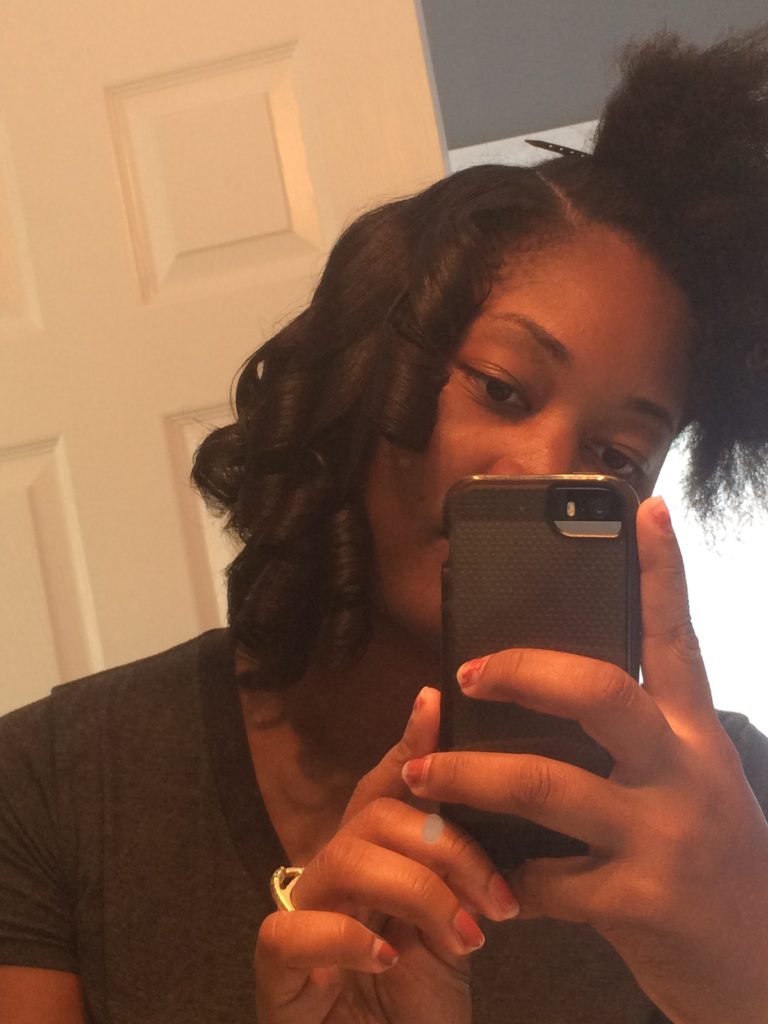
When it comes to technique, of the curl, I make my curls tight, like Shirley Temple curls. I do this for two reasons. The first reason is because my hair does not hold a curl for very long so I leave them tight while I flat iron so some will fall while I am curling. Secondly, I make them tight because I like a little body in my hair. As awesome as it is to have bone straight hair, I think the hugeness of my head shows with straight hair, so I curl to keep some body in my hair.
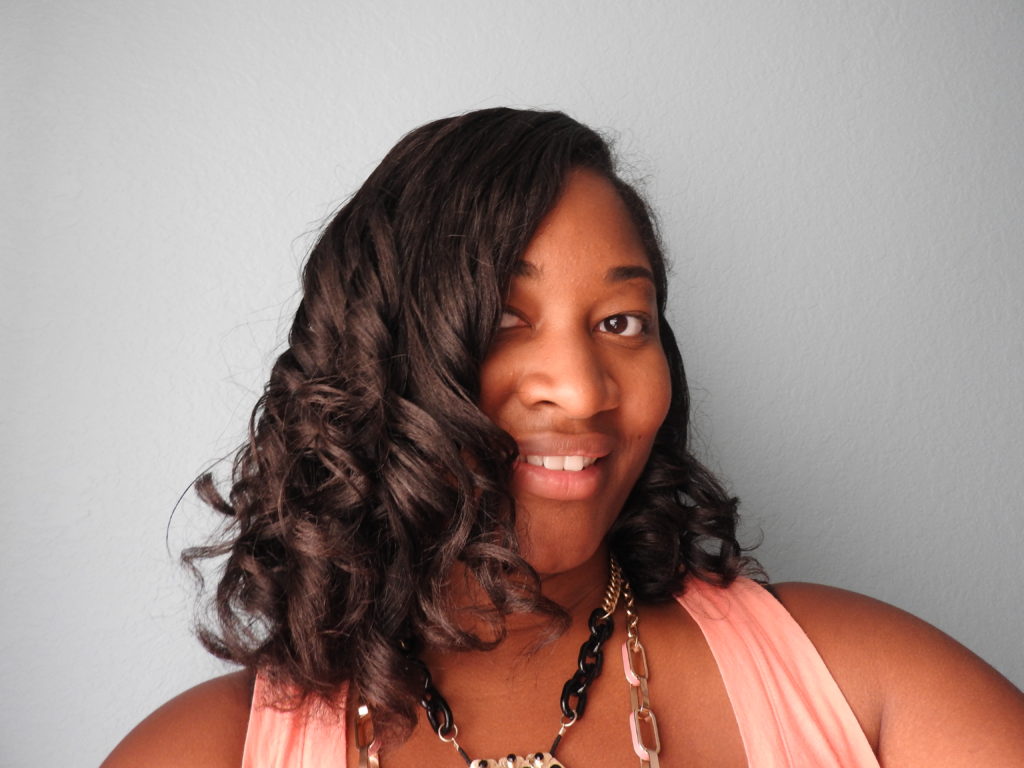
Once it’s curled, you should look like my pic below. Now some people prefer to keep their curls this way, but I like to break mine up, which leads me to the next step.
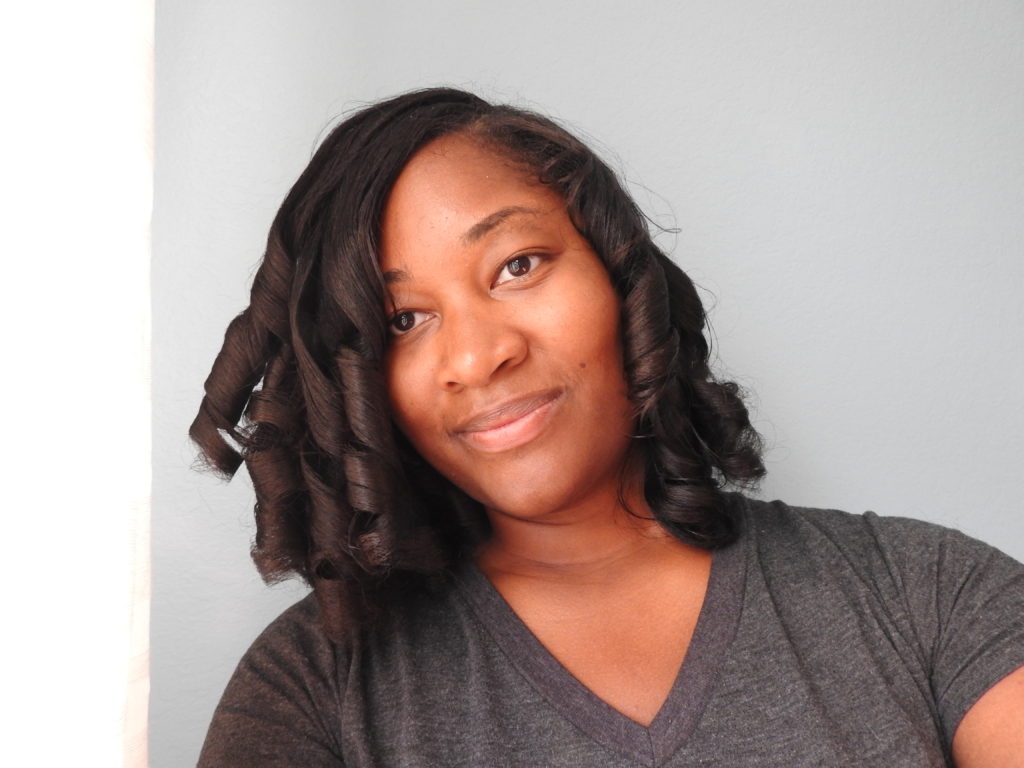
Step 4: Break up your curls
Next, you want to add a little oil to your hands and break up your curls gently by combing through your hair with your fingers. You can do this as much as you want until you get your desired curl.
My curls managed to last out of the bathroom and a whole two weeks later. I could not believe it. Once word of caution, however, since you have the minerals in your hair from the flat iron it does take a few washes before your hair goes back to being super curly.

But I can say that using the flat-iron has drastically reduced my frizz issues. I get a little frizz from time to time, but nothing like I used to before flat-ironing it.
Step 5: Never go back to your old flat iron again
Last, thing you need to do is break up with your old flat iron. I was very skeptical about using this flat-iron and held on to my old one until I knew it worked for sure. But after using it, I only have one thing to say to my old flat iron.
Bye, Felicia!

Sources: