5 Ways to Save More Money On Your Wedding


When you have a wedding, there are many things that you might be keen on focusing on. One of the major concerns that most people tend to have about a wedding is making sure that they are saving as much money as possible.
This is one of those things that you can always improve upon in one way or another. As long as you can save a decent amount of money and not overspend, you will find that the whole process is a lot less stressful.
In this post, we’ll take a look at some of the best ways in which you can save money on your wedding. If you do the following, you will find that this will be the case and that your finances are still intact even after the big day.
#1: Book the Venue Early
The venue is going to be one of the major aspects of your wedding that you need to get right, and it also tends to be one of the biggest expenses. So you will want to try and save money here if you are going to make the wedding as a whole a lot more affordable.

One of the simplest ways to do this is to make sure that you book the venue as early as possible. If you can do that, you will find that the cost is less, and you can secure your venue early on, helping avoid many headaches. Reducing this cost means you can considerably reduce the costs of the whole wedding.
Buy Bridesmaids’ Jewelry Wholesale
If you plan on having jewelry for each of your bridesmaids, you will want to think about how you are buying it, as this can impact how much you are spending too. Basically, you should try buying as much of their wholesale jewelry as possible, essentially buying it in bulk.

That will be more affordable than buying them all separately, and you will find that the final cost is much better. Of course, you will need to make sure that you are sourcing the jewelry from a decent place, but there are definitely wholesale jewelry places that you can try out in your area.
Change the Day of the Week
Which day of the week you choose to get married can affect the final price of the whole day – in terms of pretty much everything you need to book. As well as the venue probably charging more for weekends, you will find that everything else is more expensive on weekends.
This also includes the photographer, caterers, and everyone else in between. So if you choose a weekday instead, you will find that you are paying so much less for all of these elements and more, sometimes to the tune of many thousands less.
Direct Guests to Your Website
In terms of the invite, you can save hundreds and hundreds just by directing people to all the information on your website. Don’t use different inserts or send out different invitations for the various events associated with the wedding.

Instead, if you send out just one that takes people to a website, you will find that you will save a surprising amount of money, so that is another very simple thing you can do to help here. You will be amazed at how much money you save this way.
Create Your Own Favors
Finally, ensure you work hard to create your own favors and centerpieces for the tables. This is generally quite a fun way to get ready for the wedding!
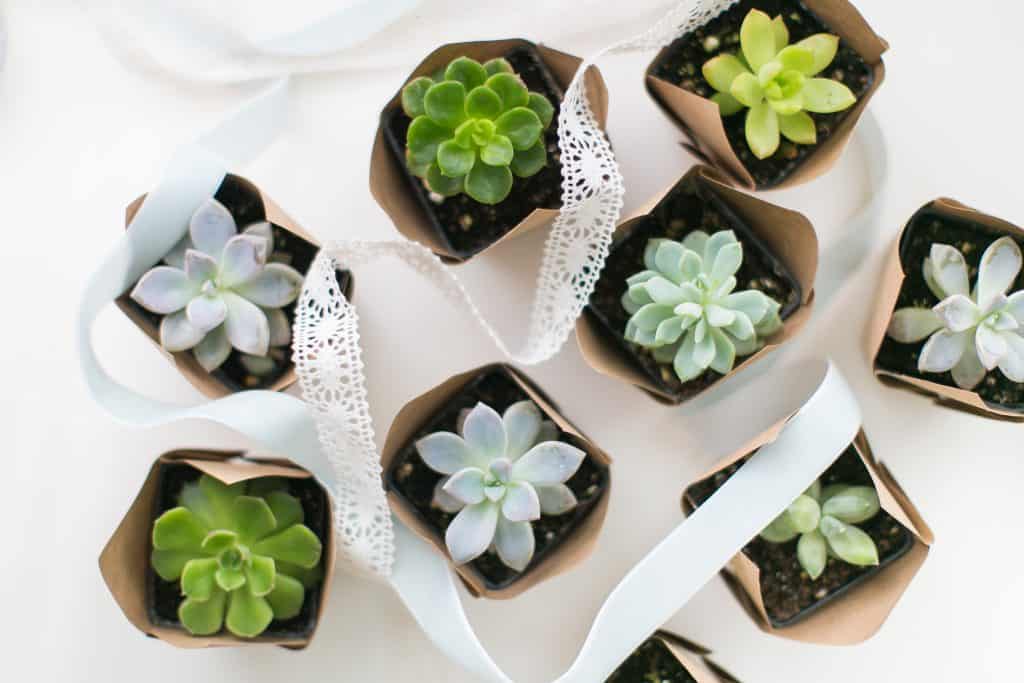
And you will find that you will have a much better time getting it all ready and saving a lot of money by not hiring someone to do it for you. To make it even easier, you can enlist the help of the bridal party, and there will usually be people who are more than happy to help you out.
Those are just some simple ways to save money on your wedding as easily as possible, so consider these if that is something you want. It could make the whole thing a lot less stressful.